Passport Photo Studio
Generate government-compliant passport, visa, and exam photos with AI background replacement — 300 DPI print-ready, transparent option available, 100% private.
Select Photo from Camera or Gallery
AI auto separates hair & body for pure color, transparent, or custom backgrounds
⚠️ AI cutout couldn't load (offline or blocked?). You can still use the original background — try uploading again once you're online.
💡 Tip: Caption prints below the photo on the sheet. Perfect for school admissions, exam forms, and ID card printing.
💡 You can also drag the photo preview directly. Keep the head between the top and chin guides (70–80% of height).
💡 Higher levels apply more skin softening while preserving facial details.
💡 6 per row recommended for saving glossy paper. Photos will auto-scale if needed.
🔢 Total Photos on Sheet💡 How it works: Choose "6 per row" and "6 total" — 6 photos fill the top row from left to right.
Complete Guide to Creating Studio-Quality Passport & Exam Photos Online (2026)
Creating official government-compliant passport photographs at home has never been easier. The DocEasy Passport Photo Studio operates 100% locally in your web browser, utilizing state-of-the-art client-side AI body segmentation models. Whether you need standard 35×45 mm photographs for Indian passports, competitive exams like SSC and Railway, government recruitment portals, or 2×2 inch square photographs for US and Schengen visa documentation, our system renders high-density 300 DPI output instantly.
Unlike traditional photo editors that upload your biometric portrait to third-party servers, DocEasy never uploads your photo. The entire AI background isolation, color correction, skin smoothing, transparent PNG generation, and multi-photo printable sheet creation takes place exclusively inside your browser's local sandbox memory.
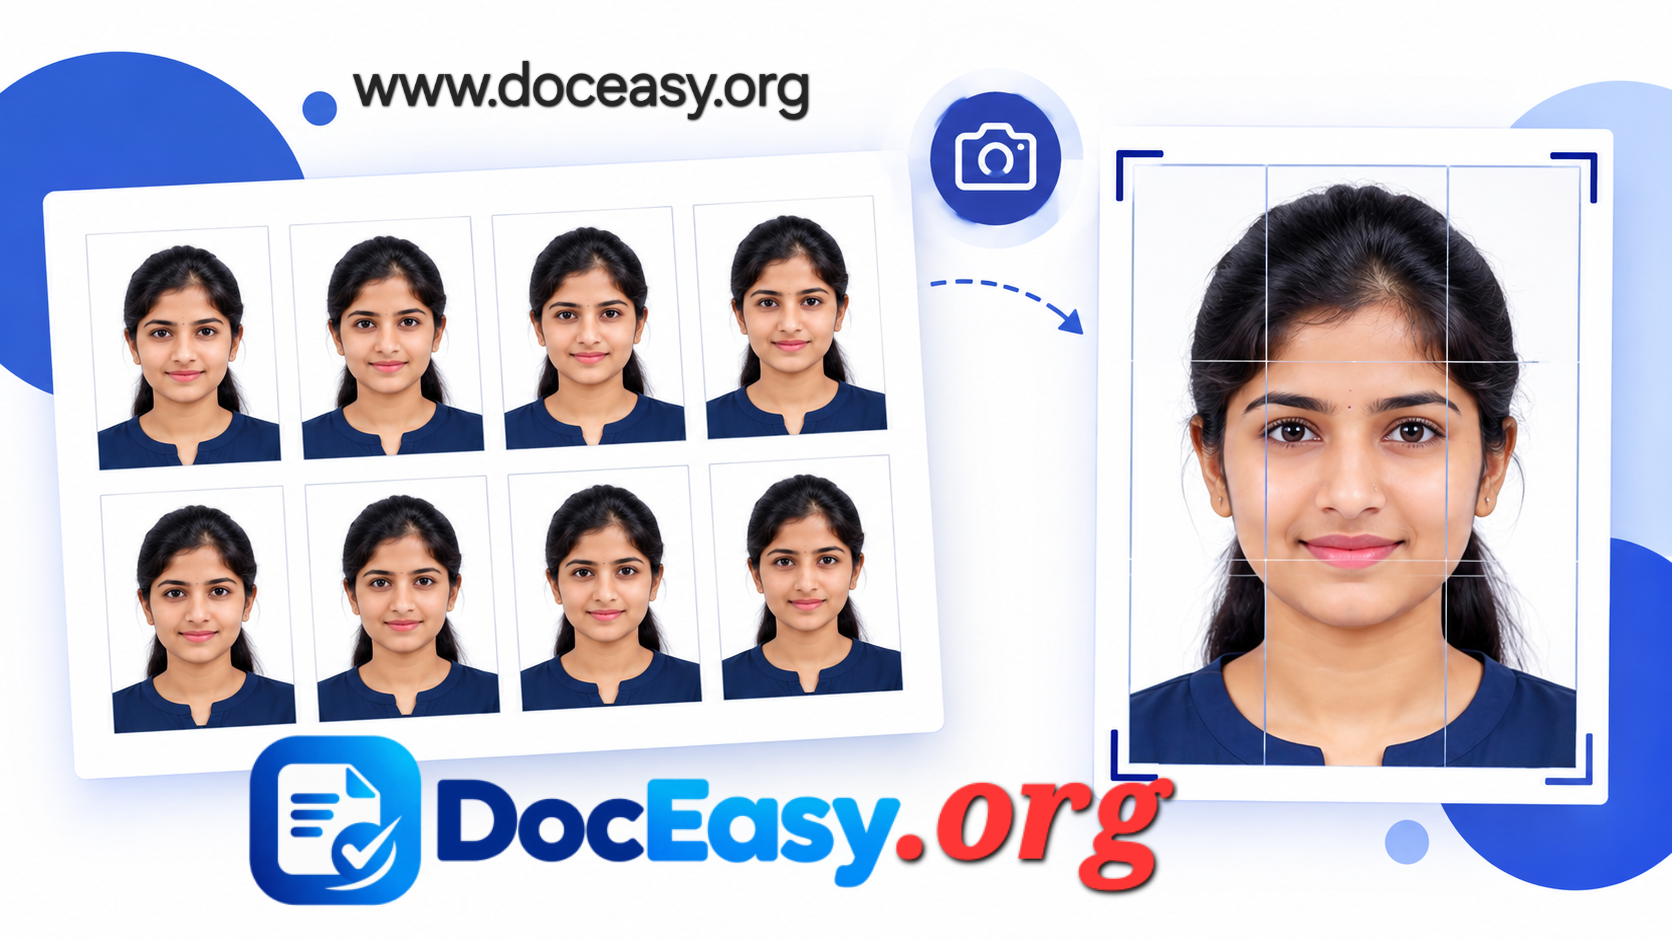
What Makes a Compliant Passport Photo?
Every government portal — from Indian Passport Seva to SSC, Railway RRB, UPSC, IBPS, NEET, JEE, and even international visa applications — has strict rules for the photo you upload. Understanding these rules saves you from repeated rejections. The six universal requirements are:
- Correct size: 35 × 45 mm for Indian passports, 2 × 2 inches (51 × 51 mm) for US visas, 35 × 45 mm for most Schengen visas and exams.
- Plain background: Blue, white, or light gray. No shadows, no textures, no patterns.
- Face coverage: Head should occupy 70–80% of the photo's vertical height.
- Neutral expression: Closed mouth, eyes open, no smiling.
- No accessories: Remove glasses if possible, no hats, no earrings that cover facial features.
- Recent photo: Taken within the last 6 months.
DocEasy's Head Guide overlay helps you position the face perfectly within these rules. Enable it in the Background tab to see the head and chin guidelines while adjusting.
Why 300 DPI Output Matters
DPI (Dots Per Inch) determines the physical print quality of your photo. Most government portals specify 300 DPI minimum. At 72 DPI (typical phone screenshot), text on ID cards and fine facial details blur when printed. At 300 DPI, every detail remains razor-sharp even at full size.
DocEasy renders every download — individual photo or full print sheet — at exactly 300 DPI. The JPEG file we generate has the DPI metadata embedded, so printers and Photoshop automatically recognize the correct physical size.
Transparent Background — When and Why
The transparent background option is one of the most requested features for:
- Online forms: Some portals require a transparent PNG so they can apply their own background.
- Photoshop work: Photographers and designers use transparent PNGs as master files.
- Shop owners: Local photo studios composite transparent cutouts onto different colored backgrounds for different customers.
- ID cards and PVC printing: Digital ID cards often require transparent photos.
- Website profiles: Profile pictures on modern websites look cleanest with transparent backgrounds.
To use it: select the transparent swatch (checkerboard icon) in the Background tab, then click "Download Photo". The output will be a PNG file with a transparent alpha channel.
Government Exam Photo Size Guide (2026)
Different exams and portals require slightly different sizes. Here's a complete reference:
- SSC CGL / CHSL / GD: 3.5 × 4.5 cm, 50 KB max, JPEG format
- Railway RRB NTPC / Group D: 3.5 × 4.5 cm, 50 KB max
- UPSC IAS / CDS / NDA: 3.5 × 4.5 cm, 300 KB max
- NEET UG: 3.5 × 4.5 cm, 200 KB max
- JEE Main / Advanced: 3.5 × 4.5 cm, 200 KB max
- IBPS PO / Clerk: 4.5 × 3.5 cm (landscape), 50 KB max
- CTET / State PSC: 3.5 × 4.5 cm, 50–100 KB
- Police / Army / AFCAT: 3.5 × 4.5 cm, 20–50 KB
- Indian Passport: 3.5 × 4.5 cm, 10–1000 KB
- PAN Card: 2.5 × 3.5 cm, 20 KB max
- Driving Licence: 3.5 × 4.5 cm, 20 KB max
- US Visa / Green Card: 5.1 × 5.1 cm (2 × 2 inch), 240 KB max
- Schengen Visa: 3.5 × 4.5 cm
DocEasy has all these presets built in. Open the Size & Presets tab and click the exam of your choice — the tool instantly resizes to the exact specifications.
How to Save Glossy Photo Paper with Smart Layout
Traditional photo printing wastes glossy paper because photos are placed with large margins or centered awkwardly. DocEasy's smart layout engine solves this:
- Photos per Row: Choose how many photos you want across the sheet (2–8 or Auto). This lets you pack up to 8 photos in a single A4 row for maximum paper savings.
- Total Photos: Pick exactly how many photos you need — 2, 4, 6, 8, 12, 16, 20, 24, or Auto. Photos print from top-left to top-right, then next row down.
- Sheet Margin: Adjust from 2mm (tight) to 20mm (spacious) to control how close photos are to the paper edge.
- Photo Gap: Control the space between adjacent photos — 0mm for zero gap (photos touching) up to 10mm.
- Auto-scaling: If you request more photos per row than naturally fit, the tool automatically scales them down slightly while preserving the exact mm dimensions on the final print.
For example: with 35×45mm passport photos on A4 paper, choosing "6 per row" and "6 total" fills a single row across the top with 6 photos — leaving room for other uses of the same sheet. Perfect for local photo studios that want to save paper costs.
How to Use the Passport Photo Studio
- Step 1 — Upload Photo: Click the upload area or drag-and-drop any clear, front-facing mobile selfie or camera portrait.
- Step 2 — Wait for AI Cutout: The tool downloads a small AI model (first time only, ~30 MB, cached forever) and separates your portrait from the background automatically.
- Step 3 — Choose Background: Pick from Royal Blue, Passport Red, Clean White, Transparent, or any custom color using the color picker.
- Step 4 — Set Size: Click a preset (Passport, SSC, Railway, PAN, etc.) or enter a custom width/height in millimeters.
- Step 5 — Add Border (optional): Enable the black or white border for clean separation from the paper.
- Step 6 — Add Name & Date (optional): Toggle "Print Name & Date Below Photo" if you need captions printed below your photos.
- Step 7 — Adjust Position & Beauty: Drag the photo to center the face, use sliders for zoom, and apply subtle skin smoothing.
- Step 8 — Choose Photos per Row & Total: In the Print Sheet tab, set how many photos per row you want (e.g. 6) and how many total (e.g. 6).
- Step 9 — Generate & Download: Click "Generate Print Sheet" to preview, then download the print-ready JPG.
Tips for the Perfect Passport Photo
- Face the light: Stand facing a window so light hits your face evenly. No shadows under the eyes or nose.
- Plain wall behind you: Stand 1–2 feet in front of a plain wall. Even if the AI removes it, a clean background helps the AI get sharp edges.
- Hair off the face: Tuck hair behind ears and away from eyes. Fringe should not cover eyebrows.
- Neutral expression: No smile. Eyes open, mouth closed.
- Camera at eye level: Hold the phone at eye level, not above or below.
- Vertical frame: Keep the photo portrait-oriented. The tool expects vertical for most presets.
- Take multiple shots: Try 4–5 shots with slightly different angles and pick the one with the sharpest eyes.
- Preview before print: Always zoom in after cropping to verify the face is well-lit and details are sharp.
Why Client-Side Processing Matters
Your passport photo contains biometric data — your face, which is a unique identifier. Uploading it to any online service means that face data sits on someone else's server, often for days. Most services claim automatic deletion, but you have no way to verify.
DocEasy eliminates this risk entirely. Everything happens locally in your browser:
- Your photo never leaves your device.
- No server processes or stores your biometric data.
- No account or signup required.
- Works offline after first load.
- No tracking pixels.
- GDPR and DPDP (India's Digital Personal Data Protection Act) compliant by design.
Frequently Asked Questions
What are the exact dimensions for standard passport and identity photos?
The standard official dimension is 35 mm wide by 45 mm tall (3.5 cm × 4.5 cm). The face should cover 70–80% of the vertical area. For US visas, use 51 × 51 mm (2 × 2 inch).
Will my photo lose quality or look pixelated?
No. All single-image downloads and complete printable sheets are generated at a sharp 300 DPI print resolution, which is the industry standard for professional printing.
Are my photos uploaded or stored anywhere?
No. Your photo is never uploaded. All processing runs on your device — only the AI model file is downloaded once, then cached. When you refresh or close the tab, all memory is immediately wiped.
How do I get a transparent background?
In the Background tab, click the checkerboard swatch (labeled "Transparent"). Download the photo — it will be a PNG file with a fully transparent background.
Which exam sizes are supported?
SSC CGL, SSC CHSL, SSC GD, Railway RRB NTPC, Railway Group D, UPSC IAS, UPSC CDS, UPSC NDA, NEET UG, JEE Main, IBPS PO, IBPS Clerk, CTET, State PSC, Police Bharti, Army Bharti, PAN card, Driving Licence, Indian Passport, and US/Schengen visa presets are all built in.
Can I print multiple photos on one sheet?
Yes. After adjusting your photo, click "Generate Print Sheet". Choose A4 or 4×6, select how many photos per row and total count, set the sheet margin, and the tool automatically arranges photos for printing.
How can I save glossy photo paper?
Use the "Photos per Row" selector. For example: choose "6 per row" and "6 total" — the tool fills the top row completely with 6 photos from left to right. This maximizes the use of every inch of the paper.
Can I add my name and date below the photo?
Yes. In the "Name & Date" tab, enable the toggle and enter the name and date. You can also choose to include the caption on the single photo download.
Why is my first use slow?
The first time you use the tool, your browser downloads a small AI model (about 30 MB) that handles the portrait segmentation. It's cached after that, so subsequent uses are much faster.
Does it work on mobile?
Yes. DocEasy works on any modern mobile browser. Tap the upload area to open your camera directly on Android or iOS.
Is there any file size limit?
No fixed limit, but images larger than 2000 pixels on the longest side are downscaled internally for speed. For best results, use a photo between 800 and 2000 pixels on the longest side.
Related DocEasy Tools
If you found this helpful, you may also like our ID Card Cropper to crop Aadhaar and PAN cards at 300 DPI, our Signature Resize to resize signatures, our Background Remover for other photo cutouts, and our Merge PDF to combine multiple documents into one.
Conclusion
Whether you're applying for a government exam, renewing your passport, or preparing a visa application, DocEasy's Passport Photo Studio gives you professional-grade 300 DPI output in seconds — without uploading your biometric photo to any server, without paying for a subscription, and without installing any software.
Try it above. Upload your selfie, choose a background, pick your size preset, and download a print-ready photo or full sheet. Everything runs in your browser, completely private.